
How to Knit a Diagonal Baby Blanket [Free Video Tutorial & Written Pattern!]
***You can purchase an INEXPENSIVE AD-FREE PDF of this pattern by clicking HERE***
This blanket has to be one of my ultimate easy-knits. I don’t know what it is about blankets knitted diagonally (or on the bias / corner to corner) but they just seem to fly off my needles at a speed that no other project does. I know this is probably just my perception, but it helps massively when you want to knit up the perfect baby gift in record time!
Those of you who are not new to my knitting will know I have a similar pattern already available. This version was born as I’ve always had people asking me about a version with a little peephole feature on the border instead of the solid border my other pattern has. You ask, and I deliver:
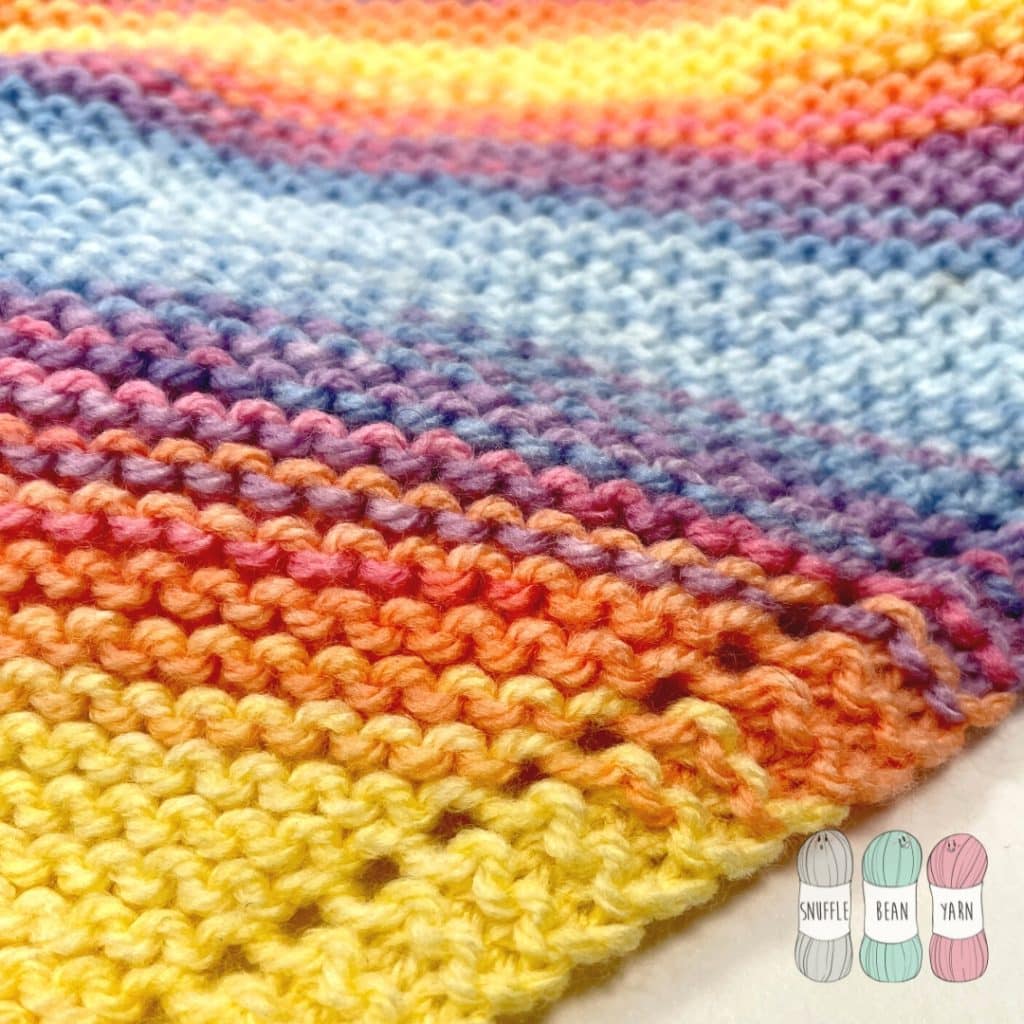
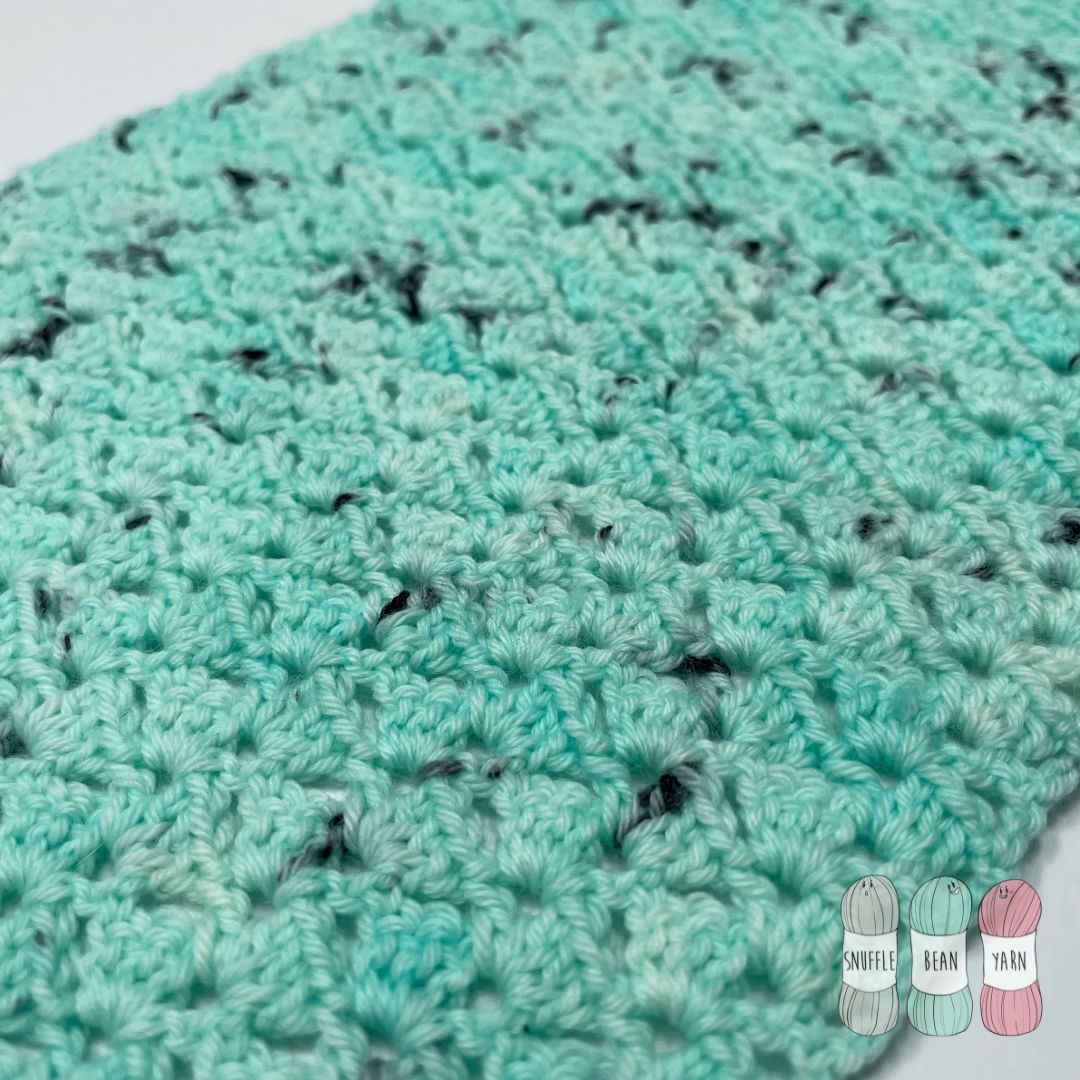
The little peepholes produced by the yarn over increases really add a nice bit of definition to the pattern and help to make the border stand out just that little bit more. For those of you worried about little fingers and toes with the peepholes, I can assure you they have enough stretch for those little fingers and toes to easily wiggle out of them should they make their way into them by accident.
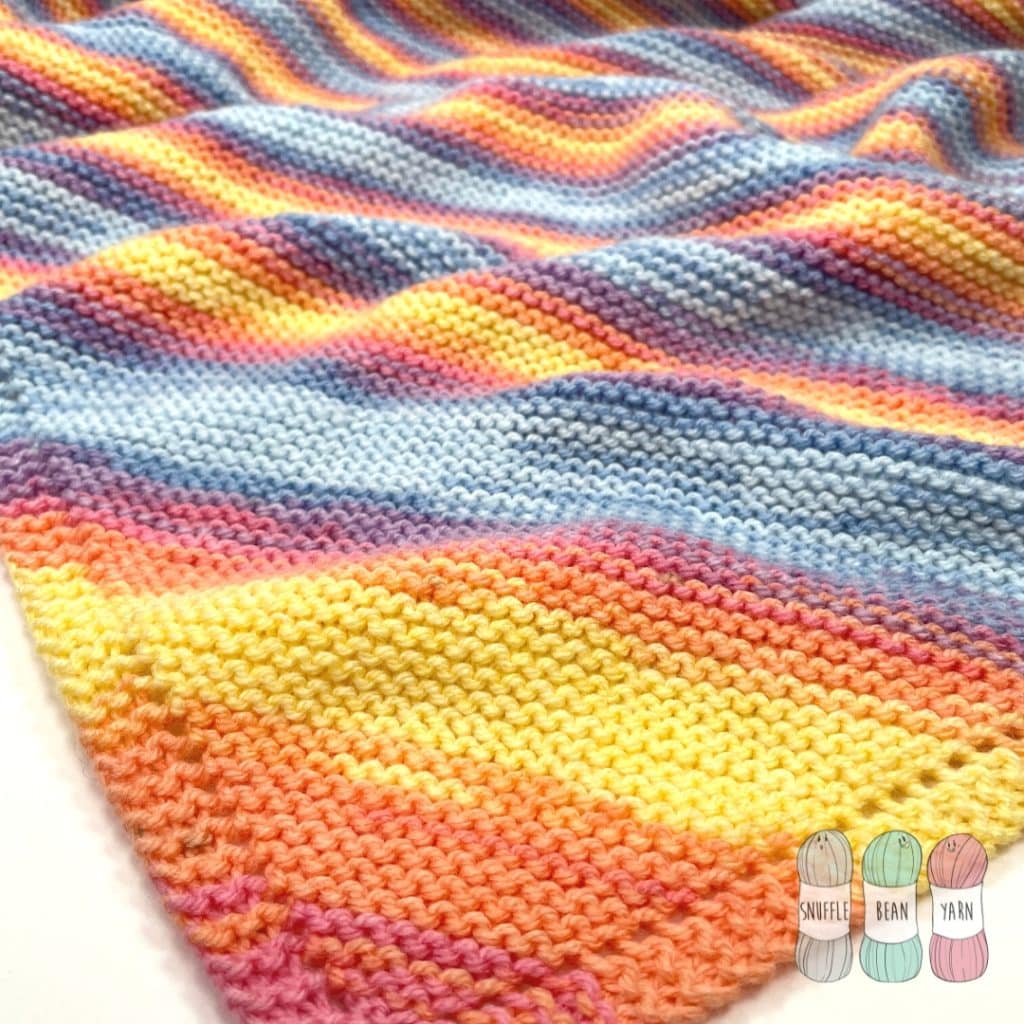
I’ve knitted a blanket measuring approx. 65 x 80cm, and my yarn meterage in the pattern reflects this. However the beauty of this pattern is there is absolutely no need to count stitches or rows – just work until your project is the the size you want, you don’t even have to grab a tape measure if you don’t want to, you could wing it and eyeball the size without any issue at all.
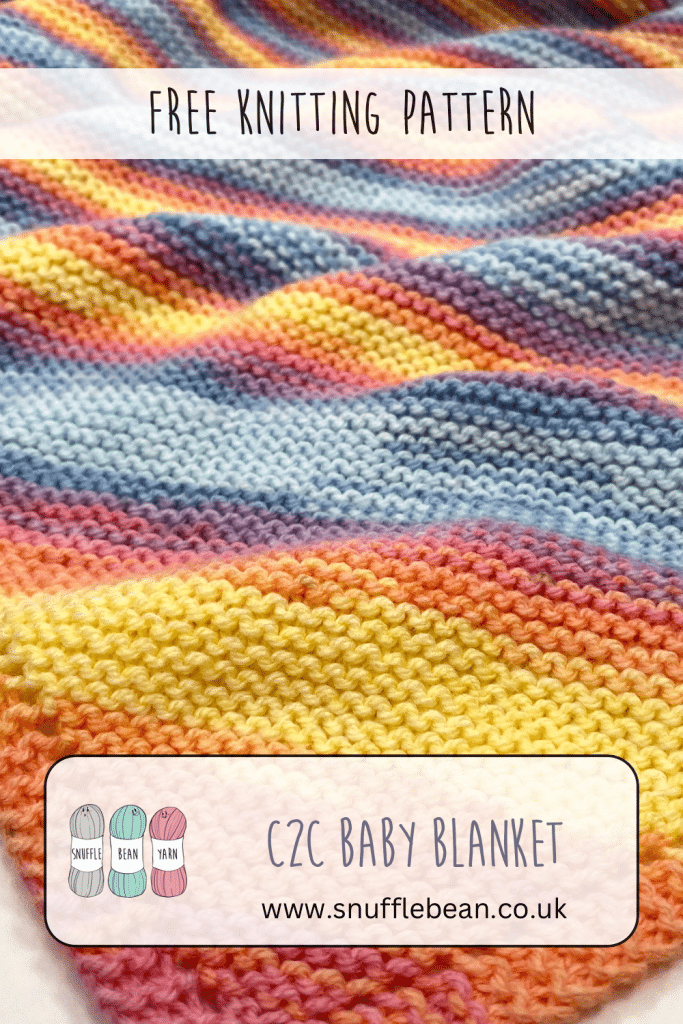
Pin for Later:
Materials Needed:
- 4mm Circular knitting needle long enough to accommodate the longest section of the blanket (150cm is ideal)
- CiciBebe Batik DK in Shade 550-33 (for a 60x80cm baby blanket I used 3 x 100g Balls)
- Scissors
- Tapestry Needle for sewing in ends.
Stitches Used:
- k – knit stitch
- kfb – knit front back increase
- k2tog – knit 2 together
- yo – yarn over increase
written pattern
Increase Section:
Cast on 4 stitches. TURN
Row 1: k all stitches. TURN
Row 2: K1, kfb, k2. TURN (5 stitches)
Row 3: k2, kfb, k2. TURN (6 Stitches)
Row 4: k2, kfb, k3. TURN (7 Stitches)
Row 5: K3, yo, k remaining stitches. TURN.
Repeat Row 5 until project is as wide as you want the short edge of your rectangle to be. (If you are making a square blanket then knit until its as wide as you want it and then skip the “middle section” part of this pattern and head straight to the decrease).
Middle Section (For Rectangular blankets):
Row: 1: k2, k2tog, yo, k2tog, k all stitches. TURN
Row 2: k3, yo, k remaining stitches. TURN.
Repeat Rows 1 & 2 until the longer edge of your project is as long as you want the long edge of your rectangle to be.
Decrease Section:
Row 1: k2, k2tog, yo, k2tog, k all remaining stitches. TURN
Repeat Row 1 until you have 7 stitches remaining. Then complete the following rows to achieve a nice neat corner.
End Row 1: k3, k2tog, k2 (6 stitches)
End Row 2: k2, k2tog, k2 (5 Stitches)
End Row 3: k2, k2tog, k1 (4 Stitches)
Cast Off & sew in ends.
![How to Knit the Winter Walk Scarf [Free Written Pattern & Video Tutorial]](https://www.snufflebean.co.uk/wp-content/uploads/2026/01/Winter-Walk-4.png)
![How to Knit the “Oscar” Baby Blanket [Free Video Tutorial & Written Pattern!]](https://www.snufflebean.co.uk/wp-content/uploads/2025/04/pippa-etsy3-1.png)
![How to Knit Double Andalusian Stitch [Free Video Tutorial & Written Pattern!]](https://www.snufflebean.co.uk/wp-content/uploads/2023/09/double-Andalusian-Social.png)
![How to Knit the “Taylor” Baby Blanket [Free Video Tutorial & Written Pattern!]](https://www.snufflebean.co.uk/wp-content/uploads/2023/07/Taylor-Social.png)
![How to Knit Pique Rib Stitch [Free Video Tutorial & Written Pattern!]](https://www.snufflebean.co.uk/wp-content/uploads/2023/10/pique-rib-Social.png)
Thanks so much
You’re welcome 🙂
Thank you so much for this pattern. I love the peep hole edge.
Its a pleasure 🙂
I am so happy I found your website. This pattern is so easy and looks great! I can’t wait to attempt some of your other patterns. Thank you.
Thank you so much! Happy Knitting!
Thank you for this pattern!! I made a couple of rectangular wraps with Noro Ito yarn and they turned out really well
You’re welcome!
Hi could u email the pattern for the corner to corner blanket please the one that is on hear please I would like to knit it with a rainbow color wool please this is my email alisontehuua48@gmail.com
Hi, you can purchase a PDF on my ravelry and etsy stores
Thank you for the patterns. I will try a couple of the baby blankets & pass your website onto my friends as the patterns are very easy to follow.
Thank you so much!
For a first timer, knitting a square blanket, how many stitches would you increase up to before beginning to decrease? Thank you!
I don’t count rows, I just knit until the blanket is the size I want and then I start decreasing 🙂