How to Knit the “Austin” Baby Blanket [Free Knitting Pattern & Video Tutorial]
***You can purchase an INEXPENSIVE AD-FREE PDF of this pattern HERE***
[Alternatively keep scrolling for the Free Version of the pattern]
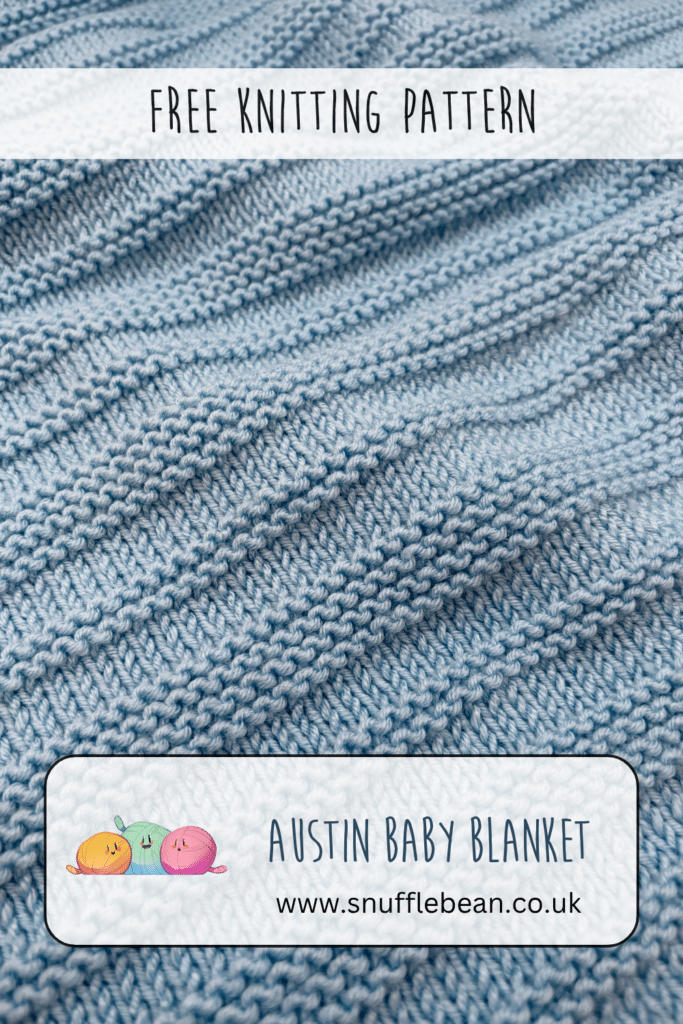
No matter how many blankets I knit, I never get bored of creating a design that uses stripes of Garter Stitch. The simplicity of it just soothes my brain as I work through each row of my project.
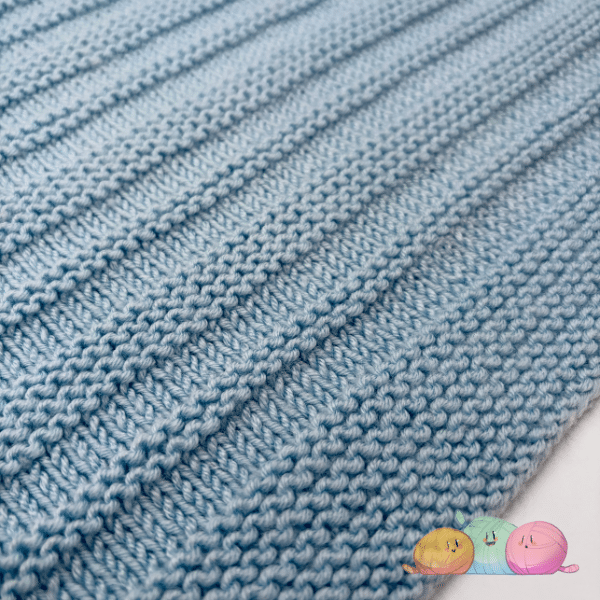
For me, Garter Stitch is hugely under appreciated. I love the texture it creates, and the wonderful squishiness it provides to any knitted project.
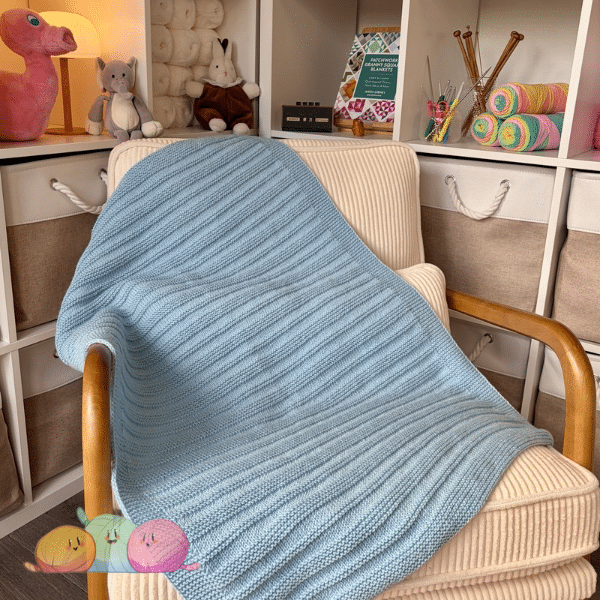
The Austin Baby Blanket comes from the same school of thought as both Henry and Riley. My sample blanket was knitting earlier this summer whilst my son was sitting his final exams at school. As you can imagine, this was a busy and stressful time for us all and I didn’t want to knit anything complicated.
Knitting using Garter Stitch is my ultimate comfort project, so it was obvious that during a stressful time in my life I would be drawn back to it.
Although Austin is a 20 row repeat, its an incredibly simple repeat, with mostly rows of knit stitch, with a few rows of purl stitches just to break up the texture.
The simplicity of the repeat makes this the PERFECT project for a beginner looking to tackle a bigger knit for the first time. As usual, I also have a YouTube tutorial to accomany the written pattern that guides you through the repeat in easy steps.
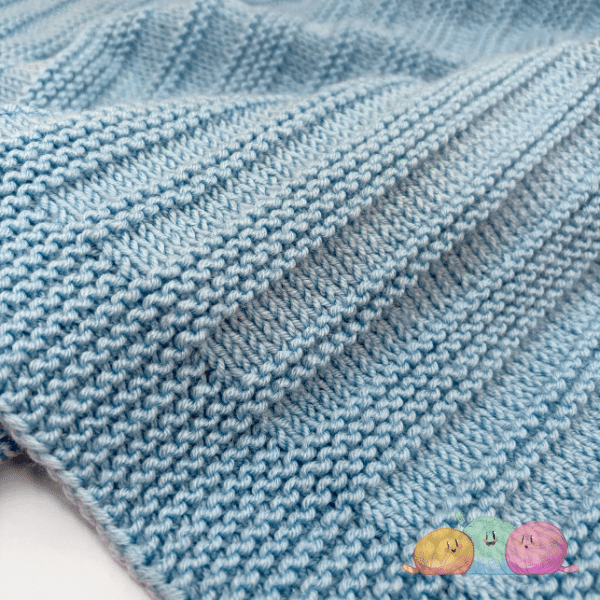
Is this pattern reversible?
I get a lot of people asking if my blankets are reversible, so I thought it might be useful to include a little snapshot of what the back looks like.
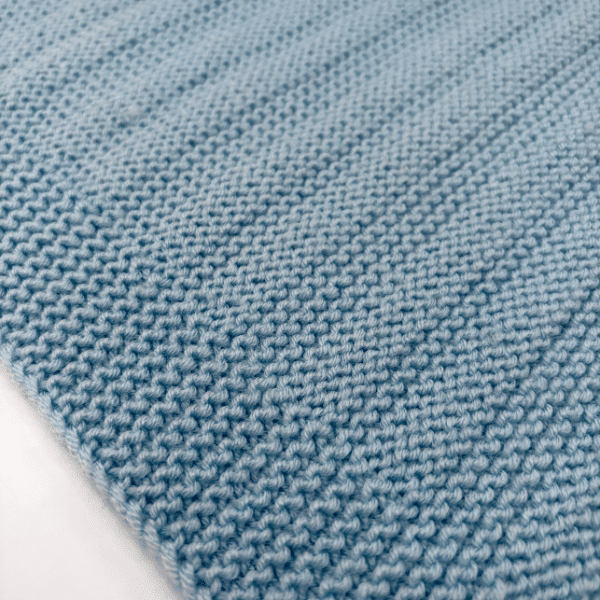
As with a lot of my blankets, Austin is not a reversible design, the back is a lot plainer than the front. That being said, the reverse isn’t ugly or messy in any way, it just doesn’t match the texture of the front.
Right Side
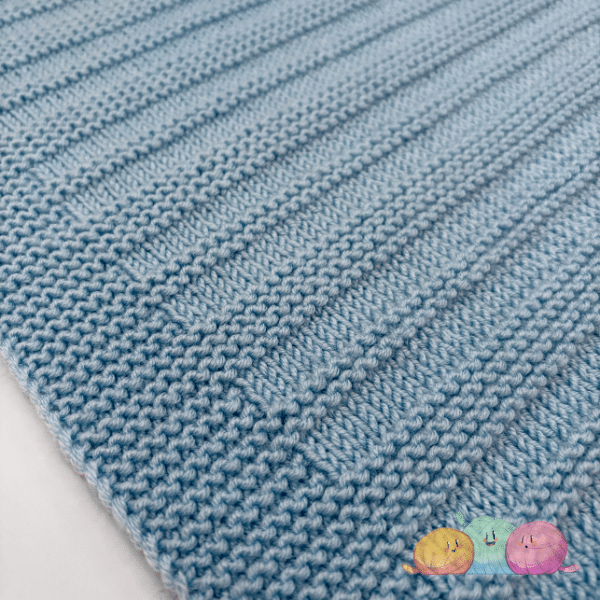
Wrong Side
yarn and sizing tips & tricks
The Austin baby blanket pattern is knitted all in one piece, from bottom to top. In order to accommodate all your stitches, I recommend using a set of circular needles (at least 100cm long) as straight needles just won’t be long enough to fit your stitches on comfortably.
I’ve chosen DK (aka Double Knitting, Light Worsted, 3 Weight) yarn for this project, but don’t let that stop you from knitting it in your own preferred weight of yarn.
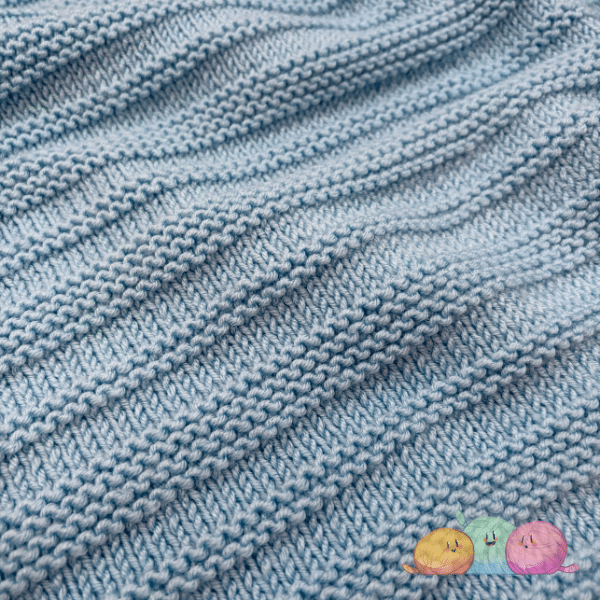
My instructions produce a baby blanket approximately 60cm x 80cm, perfect for using as a cot, pram or travel blanket. But don’t let that stop you from knitting this blanket in any size you want! I think it would look great scaled up as a Sofa Throw, Quilt or Bedspread!
I’ve deliberately designed this knitting pattern to be super easy for you to adjust the size of your blanket to whatever size you want/need.
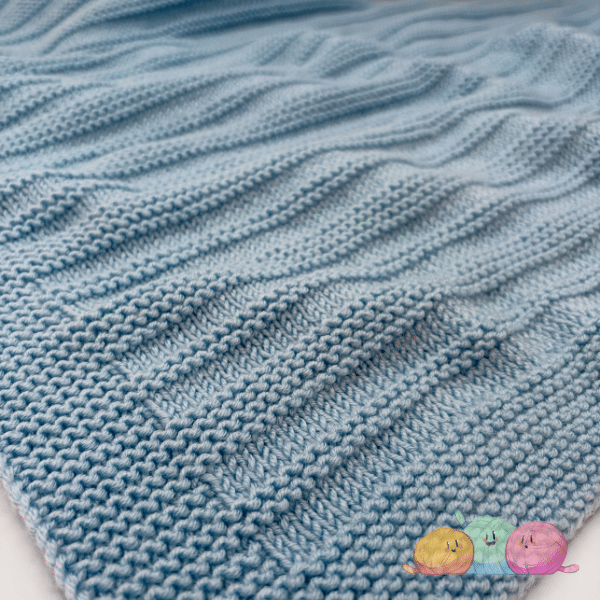
To make the blanket longer, you’ll need to work more repeats of the Middle Section (the top and bottom border are worked the same regardless of the size of blanket you knit).
To adjust the width of your blanket you’ll need to cast on more (or indeed less) stitches, it can easily be done using by casting on more, or less stitches. There is NO pattern multiple for this blanket, so just go ahead and cast on however many stitches you want.
I’ve chosen to knit this blanket in mustard shade instead of the pastel shades you often see baby blankets knitted in, but I think this pattern will work in any colour you like.
pin for later:
Not ready to knit the Austin baby blanket just yet? Why not pin this image to your Pinterest so you can find it easily when you’re ready to sit down and cast on!
Materials Needed:
- 4mm Circular Needles (to recreate this blanket 80-100cm is a perfect length)
- 400g of DK Yarn – I used Stylecraft Bambino in Vintage Blue
- 2 Stitch Markers
- Scissors & Tapestry Needle for sewing in ends
written Pattern:
Stitches Used
- k – knit
- p – purl
- sl1pwyf – slip one purlwise with yarn in front.
- Pm – place marker
- Sm – slip marker
- RS – Right Side
- WS – Wrong Side
Bottom Edge
Foundation Row: Cast on 137 stitches.
Knit 15 rows as follows: K until final stitch, sl1pwyf.
Main Pattern Repeat
Row 1 (RS): k9, pm, k across until 9 stitches remain, pm, k8, sl1pwyf.
Row 2 (WS): k9, sm, p across until second marker, sm, k8, sl1pwyf.
Row 3: k9, sm, k across until second marker, sm, k8, sl1pwyf.
Row 4: k9, sm, p across until second marker, sm, k8, sl1pwyf.
Row 5-9: k9, sm, k across until second marker, sm, k8, sl1pwyf.
Row 10: k9, sm, p across until second marker, sm, k8, sl1pwyf.
Row 11: k9, sm, k across until second marker, sm, k8, sl1pwyf.
Row 12: k9, sm, p across until second marker, sm, k8, sl1pwyf.
Row 13-20: k9, sm, k across until second marker, sm, k8, sl1pwyf.
Work Rows 1-20 a total of 14 times. Then repeat rows 1-13 once more before moving onto top garter stitch edging.
Top Edge
Knit 15 rows as follows: K until final stitch, sl1pwyf.
Final row (Row 16): Cast off knit wise with right side facing.
video tutorial
I hope you love Austin just as much as I do! If you’re looking for more knitted baby blanket inspiration then why not take a look at Harvey, Taylor or Noah.
![How to Crochet the Ripple Stitch [Free Video Tutorial & crochet Pattern!]](https://www.snufflebean.co.uk/wp-content/uploads/2021/07/Ripple-2.png)
![How to Knit the “Eric” Baby Blanket [Free Video Tutorial & Knitting Pattern!]](https://www.snufflebean.co.uk/wp-content/uploads/2023/06/Eric-social.png)
![How to Knit Tile Squares Stitch [Free Video Tutorial & Written Pattern!]](https://www.snufflebean.co.uk/wp-content/uploads/2022/07/knit-tile-blogger.png)
![How to Knit the “Hannah” Baby Blanket [Free Video Tutorial & Written Pattern!]](https://www.snufflebean.co.uk/wp-content/uploads/2024/04/Hannah-2-WordPress.jpg)
![How to Knit the Open Star Stitch [Free Video Tutorial & Written Pattern!]](https://www.snufflebean.co.uk/wp-content/uploads/2025/02/Open-Star-Front.jpg)