How to Knit a Mitred Square [Free Knitting Pattern & Video Tutorial]
In this knitting pattern you can learn how to knit these funky, modern, mitred squares with me. Perfect for cosy stash busting blankets, these squares are addictive once you start making them!
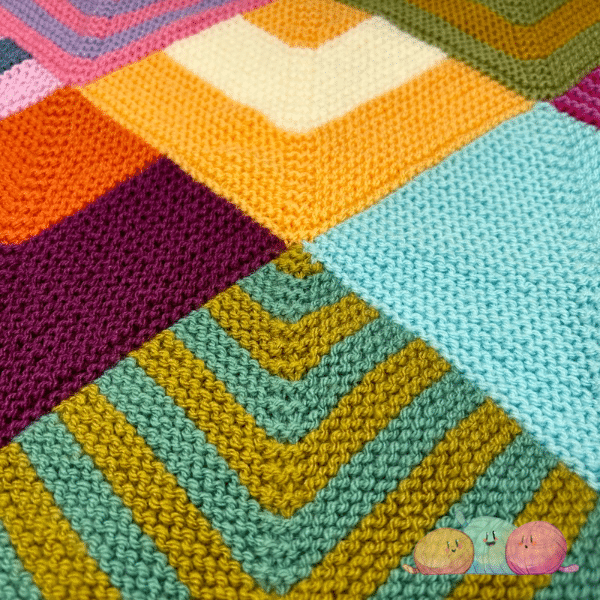
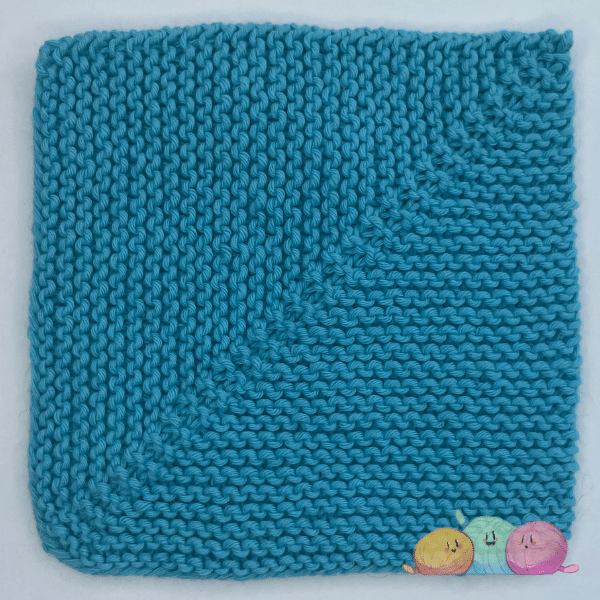
I love an easy knit, and if it uses garter stitch then even better! These quick and easy mitred squares are the ultimate stash buster.
Quick to work up, and great for using little scraps of yarn, you can knit them in solid colours as in this written pattern, or use multiple colours to create striped versions!
To make things even easier, I’ve included a free video tutorial at the bottom of this post to guide you through the pattern step by step. I’ve also linked my video tutorial detailing how to join your squares as you go, making your project even quicker to grow!
Video tutorials are perfect if you’re a visual learner, or just like having a bit of extra guidance alongside the written instructions.
pin for later
Not ready to knit these just yet? Why not pin this image to your Pinterest so you can find it easily when you’re ready to sit down and cast on!
Written Pattern:
Stitches Used:
- k – knit
- ssk – slip slip knit
- k2tog – knit two together
pattern:
Cast on Row: Using your preferred cast on method (I use long-tail cast on), cast on an EVEN number of stitches.
Row 1: Knit half your stitches, place stitch marker, knit remaining stitches. Turn
Row 2: Knit to 2 stitches before marker, k2tog, slip marker, ssk, knit remaining stiches. Turn
Rest of Square: Repeat rows 1 & 2 until 2 stitches remain.
Final Row: k2tog, break yarn and pull tail through, sew in ends.
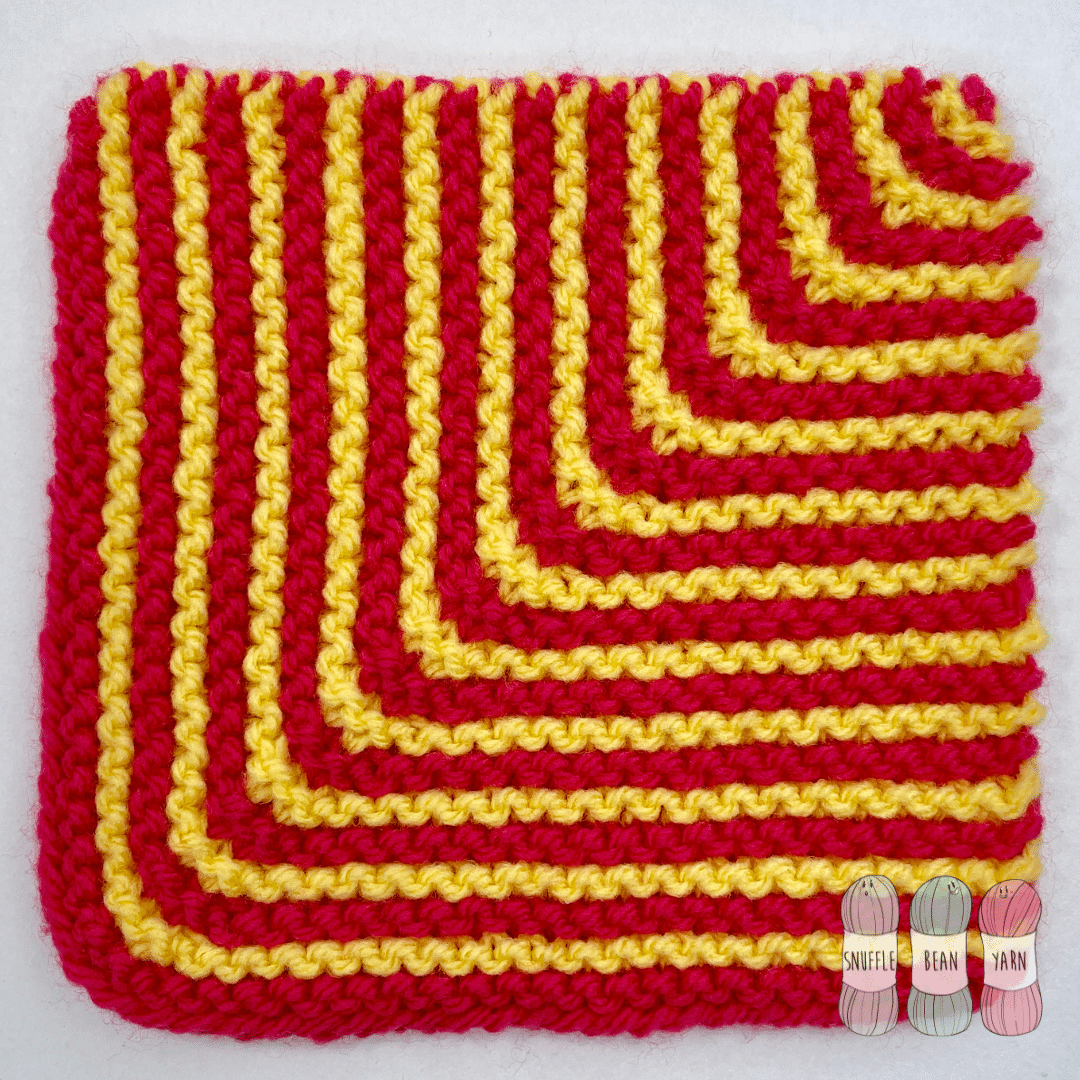
Once you’ve mastered the basic solid mitred square, why knot have a go at knitting a STRIPED one!

You can play with the thickness of your stripes and combine them with plain ones to make a really fun and unique blanket.
Video Tutorial
How to Join Mitred Squares AS YOU GO!
My favourite way to join my mitred squares, is to join them as I go. This means there’s zero sewing to do at the end of your blanket and gives a lovely seamless finish.
My video tutorial showing you exactly how to adapt your squares to join them as you go is below:
If you’ve found this pattern helpful then why not leave a comment and say hi!
![How to Knit the “Lucas” Baby Blanket [Free Video Tutorial & Written Pattern!]](https://www.snufflebean.co.uk/wp-content/uploads/2024/10/Lucas-WordPress.jpg)
![Easy Knit Diagonal Garter Stitch Scarf 🧶🧣 [Free Written Pattern & Video Tutorial!]](https://www.snufflebean.co.uk/wp-content/uploads/2023/01/diagonal-scarf-social.png)
![How to Knit Double Fleck Stitch [Free Video Tutorial & Written Pattern!]](https://www.snufflebean.co.uk/wp-content/uploads/2023/11/Double-Fleck-Social.jpg)
![How to Knit Flag Stitch [Free Video Tutorial & Written Pattern!]](https://www.snufflebean.co.uk/wp-content/uploads/2023/06/flag-stitch-social.png)
I love the way you teach, but I am not sure how to join the squares after the initial joining .
thanks Silvana
Exceptional tutorial. Many thanks
Thank you!
maybe you can help me I follow the tutorial very easy but not sure what I did when I started the next row ,The upper left and right square did not join .
thanks for the help if possible