How to Crochet a Corner to Corner Wattle Stitch Square [Free Video Tutorial & crochet Pattern!]
Learn how to crochet a Wattle Stitch Corner to Corner Square with me!
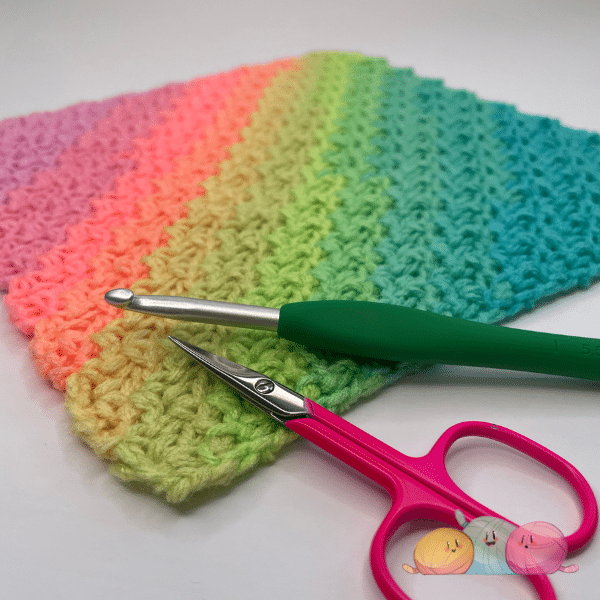
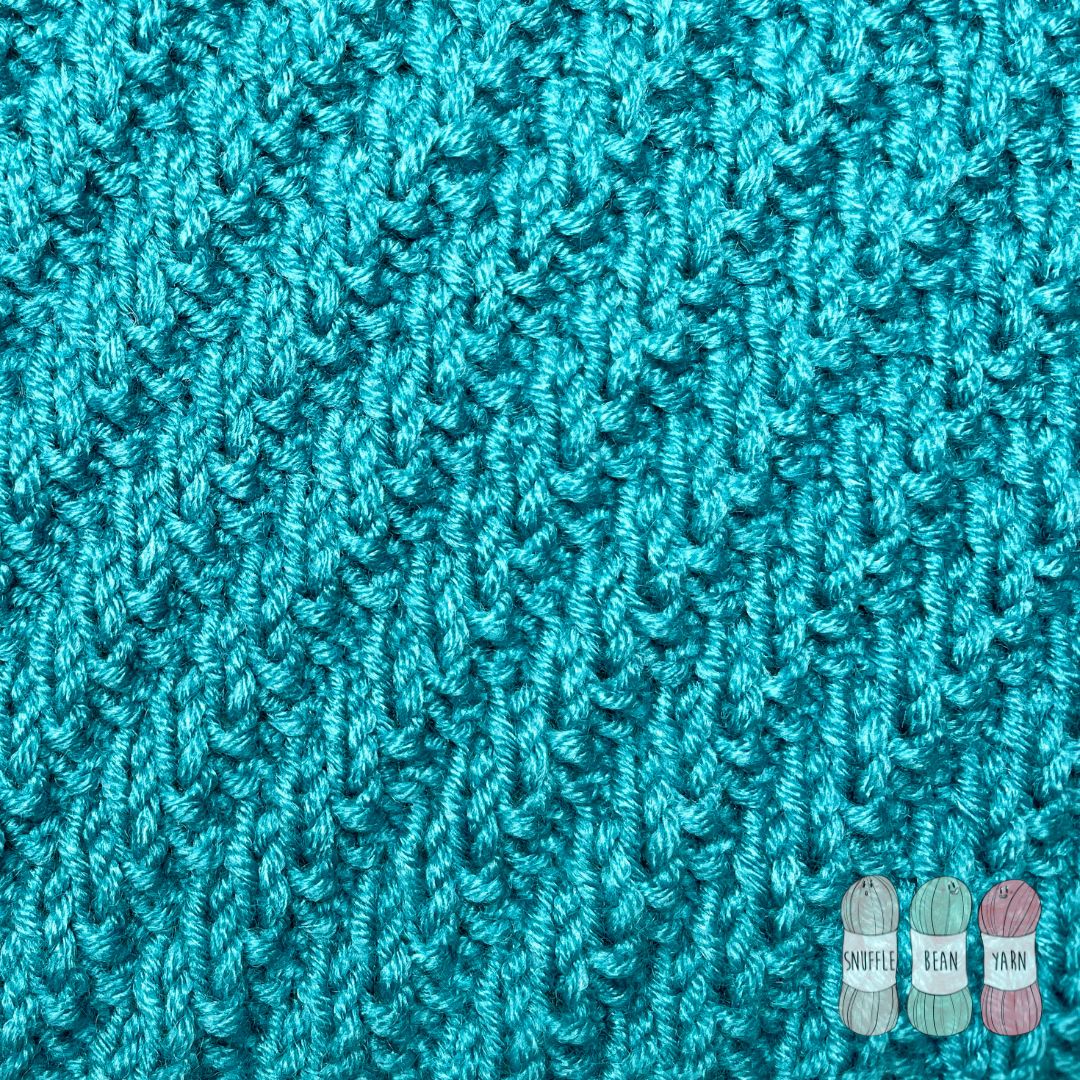
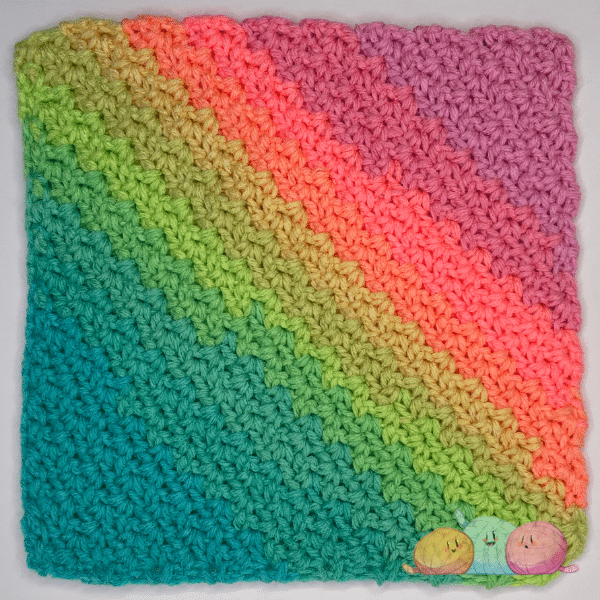
Ideal for textured squares or quick gifts, this corner-to-corner Wattle Stitch square is a great introduction to working diagonally in crochet. The stitch combines single crochet, chains and double crochet into neat clusters for a flexible and dense finish. With an easy repeat and clear decrease shaping, it’s perfect for blankets, dishcloths or patchwork projects.
To make things even easier, I’ve included a free video tutorial at the bottom of this post to guide you through the pattern step by step.
Perfect if you’re a visual learner or just like having a bit of extra guidance alongside the written instructions.
pin for later:
written Pattern:
Materials Needed:
- Crochet Hook in correct size for yarn weight
- Embroidery Scissors
- Tapestry Needle
Stiches Used:
- ch – Chain
- ss – slip stitch
- sc – Double Crochet
- dc- Double Crochet
- sc2tog – single crochet 2 together / single crochet decrease.
Special Stitches:
- Wattle Cluster = sc, ch1, dc.
Increase Section:
Foundation Row: ch4, into 4th ch from hook, work sc, ch1, dc. TURN.
Row 1: ch3, work wattle cluster into ch1 space from row below, work wattle cluster into top of ch3 from previous row. TURN
Row 2: ch3, work wattle cluster into each ch1 space from row below, work wattle cluster into top of ch3 from previous row. TURN
Repeat Row 2 until your project is as wide as you want it to be (measuring along side edges, not diagonal edges)
Decrease Section:
Row 3: ch2, work wattle cluster into every ch1 gap from row below, sc into top of ch3 from row below. TURN.
Row 4: ch2, work wattle cluster into every ch1 gap from row below, sc2tog across next ch1 gap and ch2 of row below. TURN
Repeat Row 4 until you only have 2 wattle clusters left in the previous row.
Row 5: ch2, work wattle cluster into ch1 gap from row below, sc2tog across next ch1 gap and ch2 of row below. TURN
Row 6: ch2, sc in ch1 gap from row below. Fasten off.
Video Tutorial:
If you’ve found this pattern helpful then why not leave a comment and say hi!
![How to Crochet the Cluster V Stitch [Free Video Tutorial & crochet Pattern!]](https://www.snufflebean.co.uk/wp-content/uploads/2022/04/cluster-v4-1-1.png)