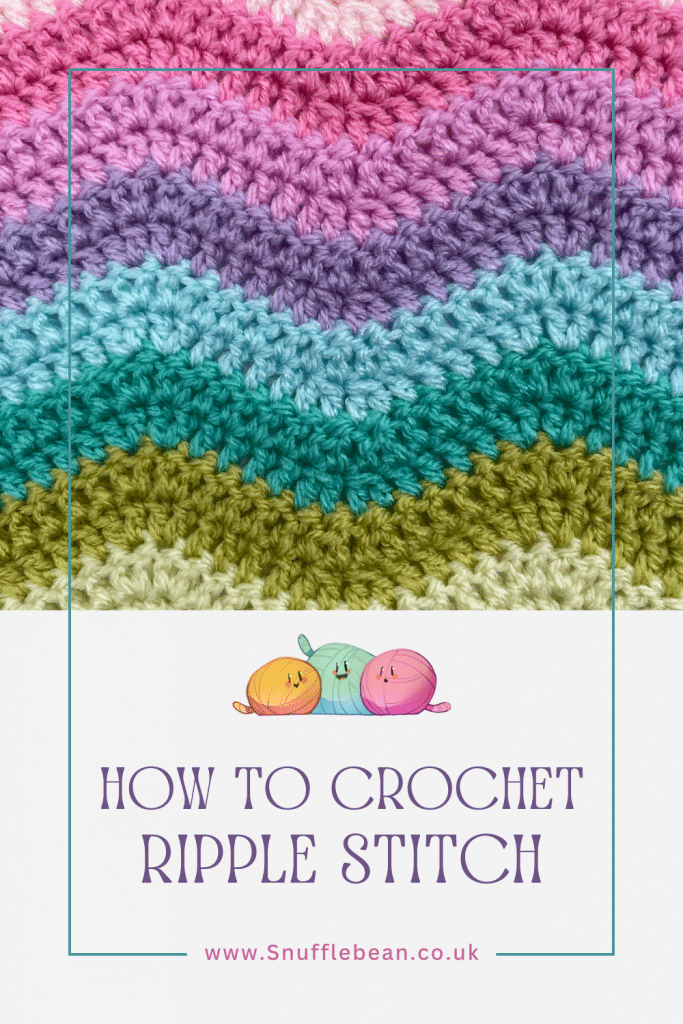
How to Crochet the Ripple Stitch [Free Video Tutorial & crochet Pattern!]
If you’ve followed me for a while you’ll know that at one point, crocheting ripple blankets was pretty much ALL I did.
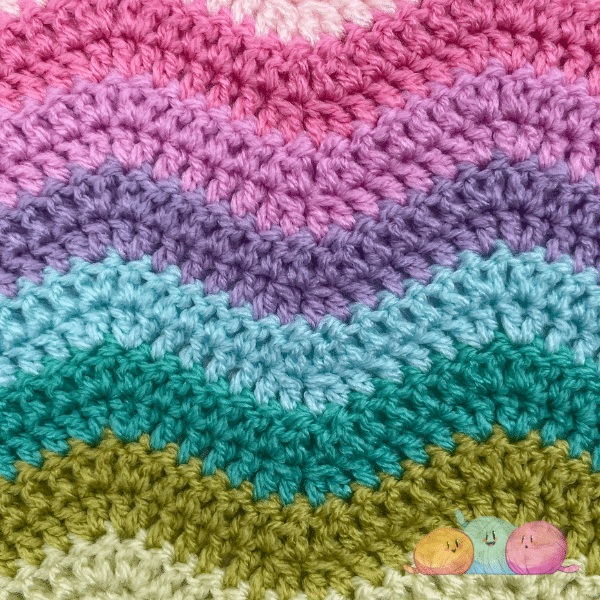
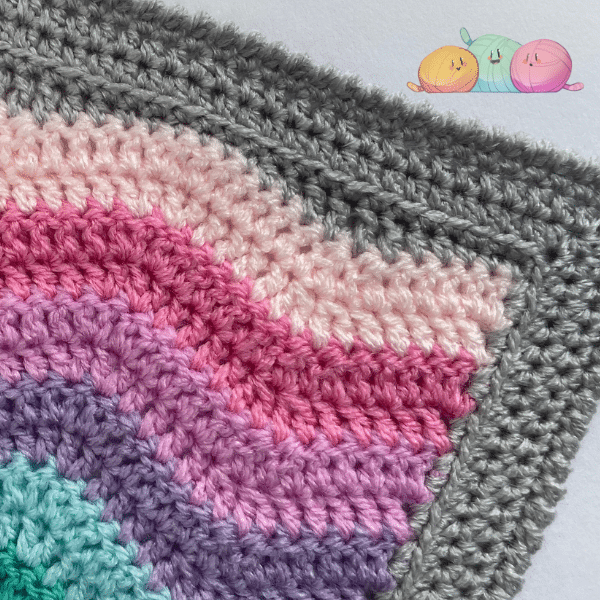
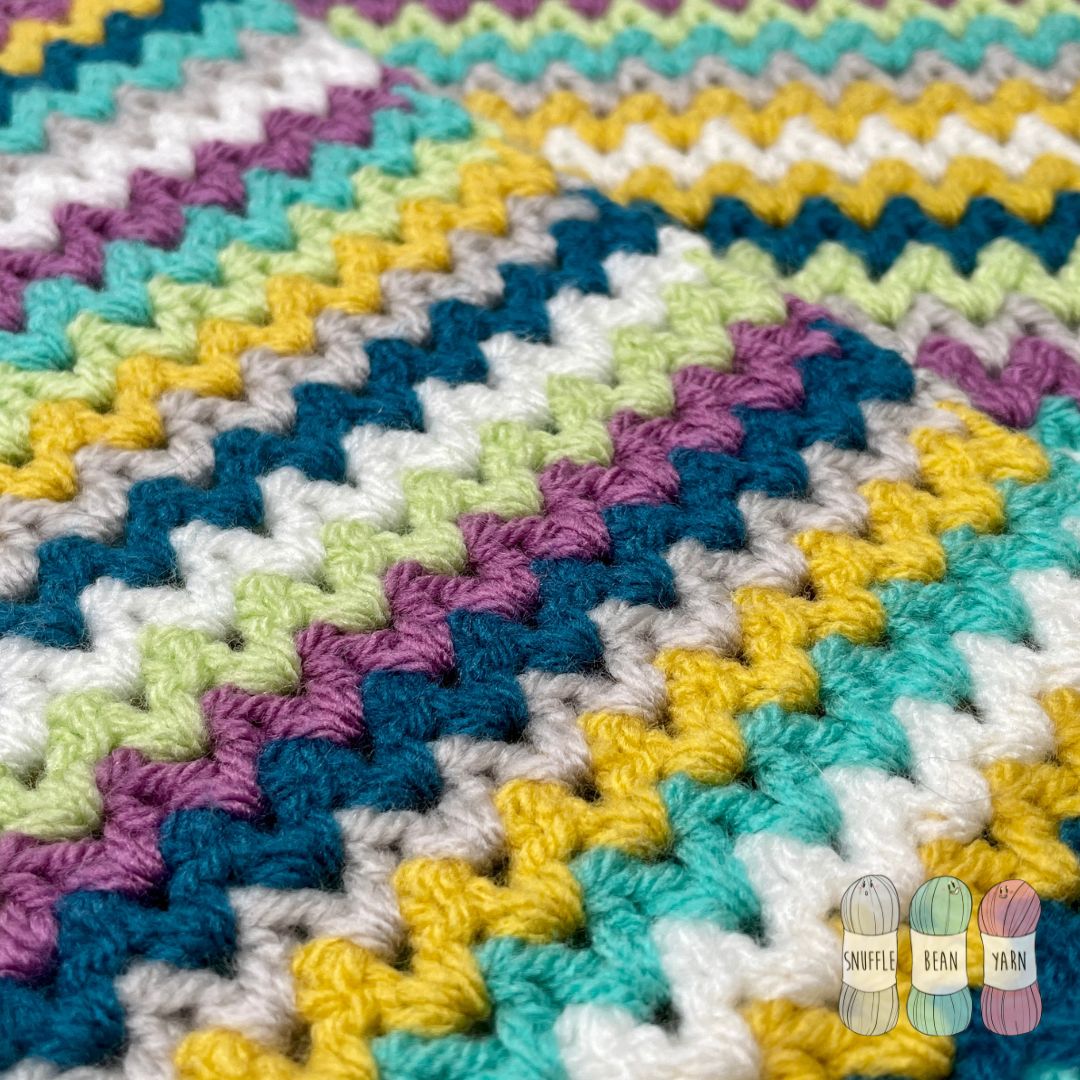
People love the gentle design, and the colour combinations and stripe thickness you can use were pretty much endless.
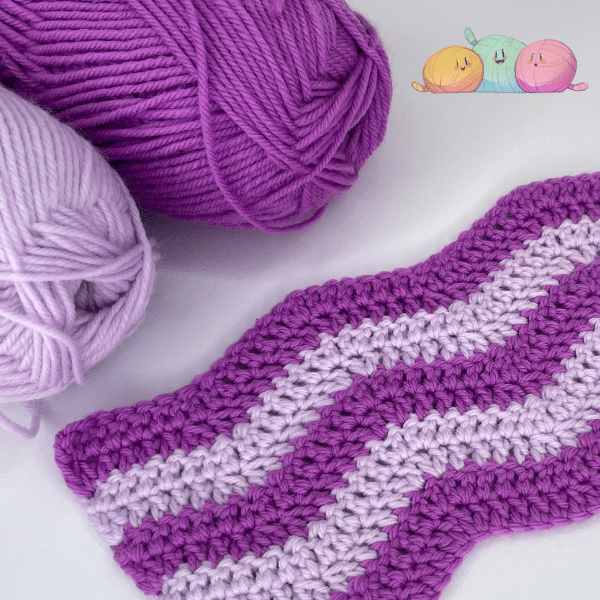
A timeless classic, you can’t go wrong with a ripple stitch blanket. I’ve made hundreds since I’ve been crocheting and I’m still not bored of making them.
To make things even easier, I’ve included a free video tutorial at the bottom of this post to guide you through the pattern step by step.
Perfect if you’re a visual learner or just like having a bit of extra guidance alongside the written instructions.
pin for later
Not ready to crochet this just yet? Why not pin this image to your Pinterest so you can find it easily when you’re ready to sit down and start crocheting!
written pattern
Materials Needed:
- Crochet Hook in correct size for yarn weight
- Crochet hook ONE size bigger for starting chain.
- Embroidery Scissors
- Tapestry Needle
Stiches Used:
- ch – Chain
- dc – Double Crochet
- dc2tog – Double Crochet 2 Together (Double Crochet Decrease)
- dc inc – Double Crochet Increase (2dc worked into same stitch)
Pattern:
Foundation Row: With larger hook, work in multiples of 14 + 3 until you reach desired width. For baby blankets I chain 115 (7 x 14 stiches, plus 3 for the turning chain)
Row 1: Switch to smaller hook. Into 4th ch from hook work dc, dc into next 4 ch, *work dc2tog over next 2 ch, work another dc2tog across the next 2 ch, dc into next 4 ch, work dc inc into next ch, work another dc inc into next ch, dc into next 4 ch* Repeat from *to* until one stitch remains, work dc inc into last ch. Ch2 & Turn.
Row 2 (Repeat Row): Work dc into same stitch as turning ch, dc into next 4 stitches, *work dc2tog over next 2 stiches, work another dc2tog across the next 2 stitches, dc into next 4 stitches, work dc inc into next stitch, work another dc inc into next stich, dc into next 4 stitches* Repeat from *to* until one stitch remains, work dc inc into turning chain from previous row. Ch2 & Turn.
Rest of Pattern: Repeat Row 2 until project is desired size. Break yarn and sew in ends.
video tutorial
If you’ve found this pattern helpful then why not leave a comment and say hi!

![How to Knit the Sand Stitch [Free Video Tutorial & Written Pattern!]](https://www.snufflebean.co.uk/wp-content/uploads/2023/09/Sand-Stitch-Social.png)
![How to Knit Diamond Brocade Stitch [Free Video Tutorial & Written Pattern!]](https://www.snufflebean.co.uk/wp-content/uploads/2023/08/diamond-brocade-Social.png)
![How to Knit Rosehip Stitch [Free Written pattern & video tutorial!]](https://www.snufflebean.co.uk/wp-content/uploads/2025/04/Rosehip-1-.jpg)
![How to Knit the “Holly” Baby Blanket [Free Video Tutorial & Written Pattern!]](https://www.snufflebean.co.uk/wp-content/uploads/2024/01/Holly-Social.png)
I love the Ripple Stitch tutorial. It’s easy to follow. Though it’s been a while since I visited your site, I was surprised to see you no longer operate the yarn shop. There’s so much to learn here. Well done
Hi! I do still operate the yarn shop but haven’t linked the site on here at the moment, the yarn shop URL is http://www.snufflebeanyarn.co.uk if you did want to visit it.
Cant wait to try this pattern in kingsize
I’ve made 3 of this pattern, for my grandchildren and they turn-out fantastic. The only trouble i have is making it larger, for an adult. Would 252+3 be the right amount?
i am not good at math. but I’d like to make my son an Afghan. I’m looking at a 53×60 and can’t for the life of me figure-out how many stitches to use. i tried several counts, but it isnt right. im trying to make a wave pattern with 17+3 . can you help?