How to Crochet a Ripple Stitch Blanket [Free Crochet Pattern & Video Tutorial!]
***You can purchase an INEXPENSIVE AD-FREE PDF of this pattern HERE***
[Alternatively, keep scrolling for the free version of the pattern]
Long before I ever picked up a set of knitting needles, I used to spend the vast majority of my crafting time crocheting.
What started out as a childhood hobby grew into something unexpected, and introduced me to the wonderful crafting community here online.
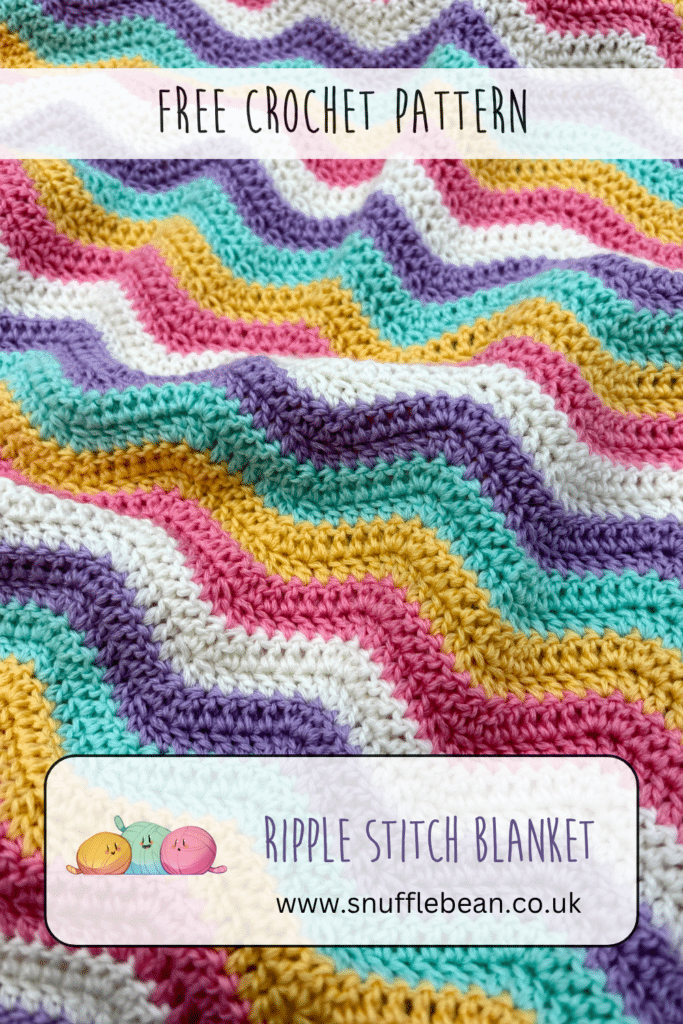
As with knitting, baby blankets were my favourite thing to crochet. My all time favourite pattern has to be the Ripple Stitch. Its undulating pattern has the perfect clean modern feel, and the colour possibilities were endless.
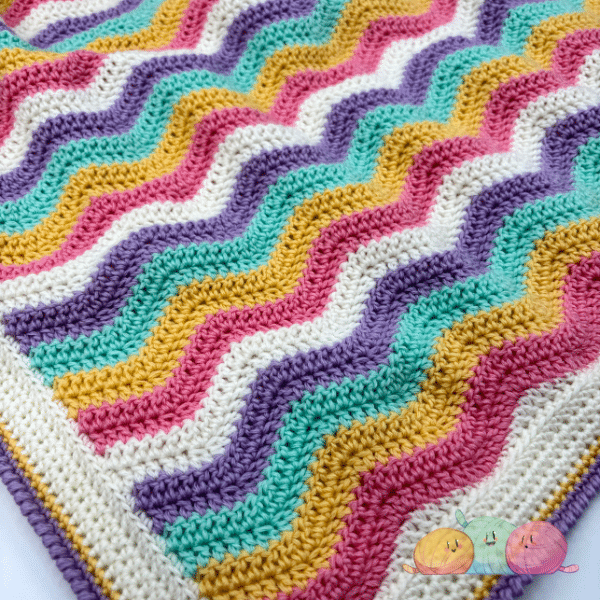
Over time I came up with a tried and tested pattern for the main body of the blanket, and a clean simple crocheted border. Combining the techniques into one blog post has been on my to do list for longer than I can remember.
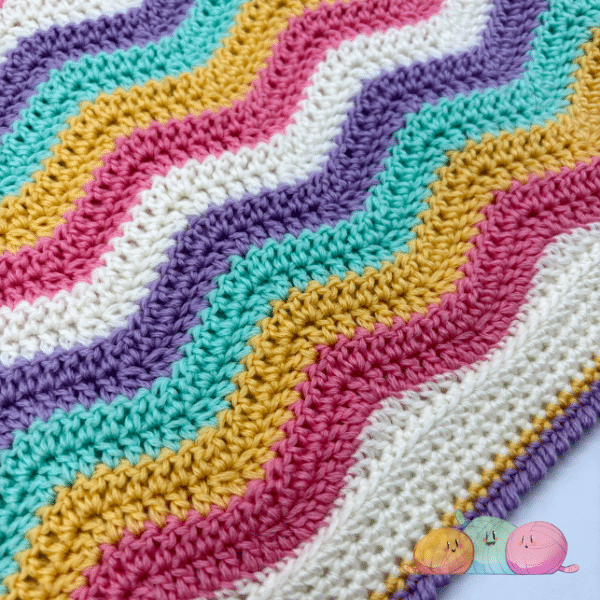
The main written pattern in this post can be easily adapated to any weight yarn, but for those of you wishing to recreate my sample blanket I’ve detailed the yarn, stitch, and row counts in the section below.
recreate my sample blanket
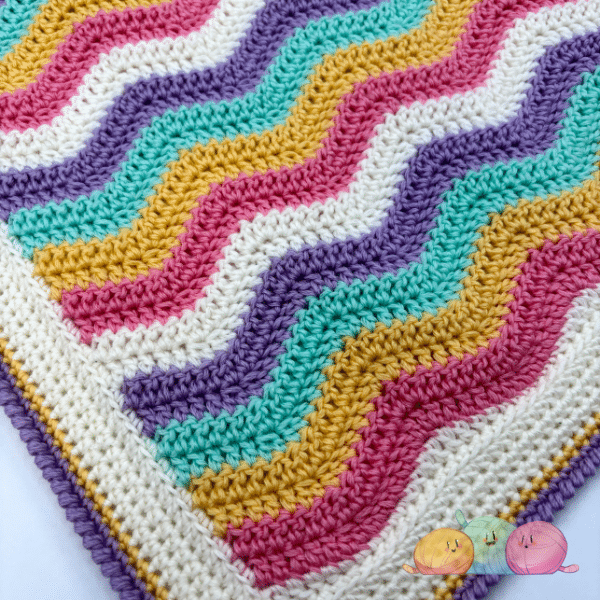
- Yarn:
- Bella Coco Merino from Hobbii Yarn in the shades Ballerina (14), Corn (17), Seafoam (29), Heather (24) and Ivory (01) (I used one ball of each colour, and two balls of Ivory)
- Crochet Hooks Used:
- 4.5mm for Starting Chain
- 4mm for main body of blanket
- 3.5mm for the border.
- Pattern Multiple: 14+3.
- Foundation Row: Chain 143.
- Stripe details:
- 2 rows per colour
- Colour Order: Flamingo, Corn, Seafoam, Heather, Ivory
- Repeated Colour Order 8 times, then worked first 4 colours once more before breaking yarn and sewing in tails.
- Straightened Edges:
- Worked in Ivory.
- Border Details:
- Rounds 1-3: Ivory
- Round 4: Corn
- Round 5: Heather
pin for later
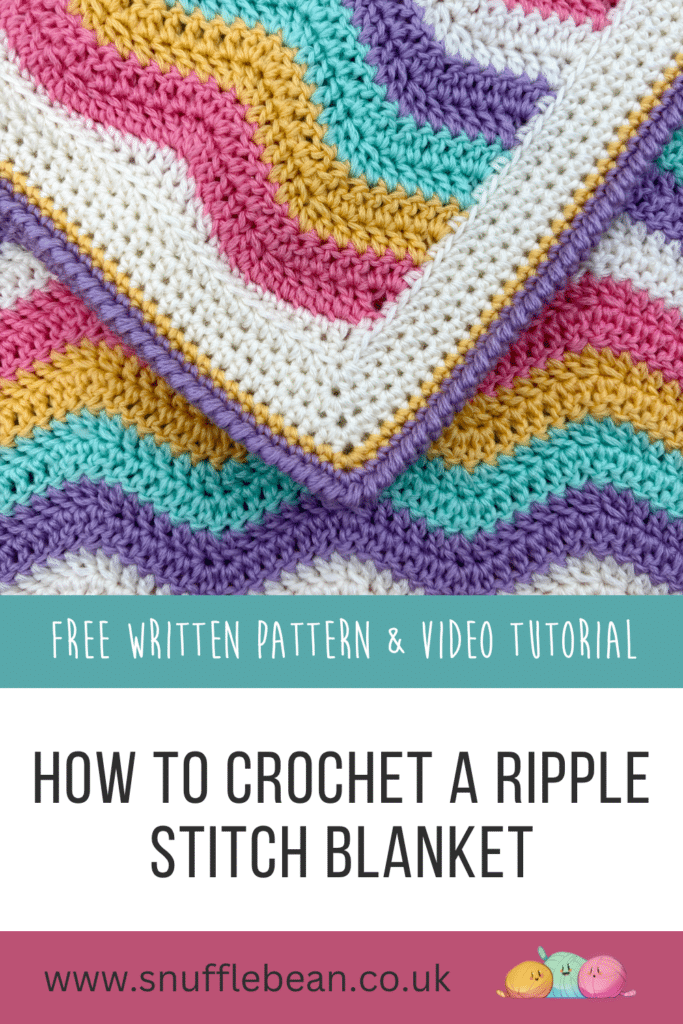
Not ready to crochet a Ripple Stitch blanket just yet? Why not pin this image to your Pinterest so you can find it easily when you’re ready.
written pattern
Materials Needed:
- Crochet Hook in correct size for yarn weight.
- Crochet Hook ONE size smaller for Border.
- Crochet hook ONE size bigger for starting chain.
- Embroidery Scissors
- Tapestry Needle
Stiches Used:
- ch – Chain
- dc – Double Crochet
- dc2tog – Double Crochet 2 Together (Double Crochet Decrease)
- dc inc – Double Crochet Increase (2dc worked into same stitch)
Main Body of the Blanket
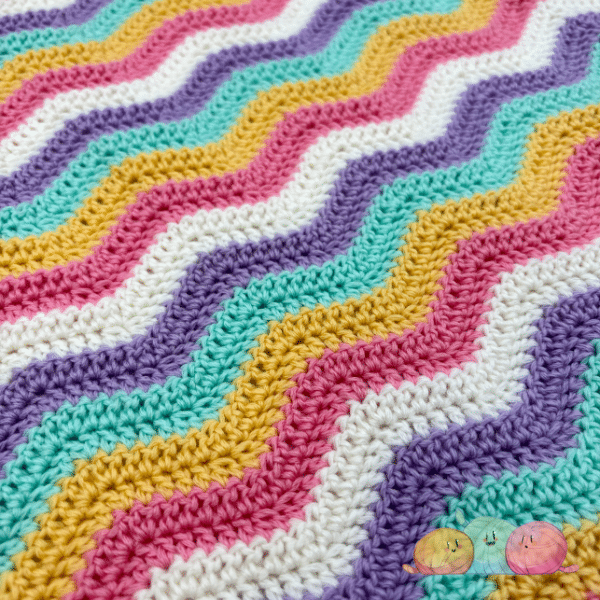
Foundation Row: With larger hook, chain in multiples of 14, until you reach desired width, then add 3 more chains for the turning chain.
Row 1: Switch to smaller hook. Into 4th ch from hook work dc, dc into next 4 ch, *work dc2tog over next 2 ch, work another dc2tog across the next 2 ch, dc into next 4 ch, work dc inc into next ch, work another dc inc into next ch, dc into next 4 ch* Repeat from *to* until one stitch remains, work 2 dc inc into last ch. Ch2 & Turn.
Row 2 (Repeat Row): Work dc into same stitch as turning ch, dc into next 4 stitches, *work dc2tog over next 2 stiches, work another dc2tog across the next 2 stitches, dc into next 4 stitches, work dc inc into next stitch, work another dc inc into next stich, dc into next 4 stitches* Repeat from *to* until one stitch remains, work 2 dc inc into turning chain from previous row. Ch2 & Turn.
Rest of Pattern: Repeat Row 2 until project is desired size. Break yarn and sew in ends.
straightening top and bottom edge
These two rows are worked to straighten out the wavy top and bottom edge, I find doing this separately to the border gives a nice stable base to work your first round of your border into.
top edge
Make sure to work this row with the right side of your blanket facing UP.
- Join yarn to first stitch,
- ch1 (does not count as a stitch)
- sc into same stitch,
- sc into next 2 stitches
- hdc into next 2 stitches
- dc into next 4 stitches
- hdc into next 2 stitches
- sc into next 3 stitches
- *3 sc, 2 hdc, 4 dc, 2 hdc, 3sc* – Repeat from *to* until end of row, making sure to work final sc into turning chain from row below.
- Break yarn and sew in ends.
bottom edge
The following is also worked with the right side of your blanket facing UP.
- Join yarn to first stitch
- ch2 (does not count as a stitch)
- dc into same stitch
- dc into next stitch
- hdc into next 2 stitches
- sc into next 6 stitches
- hdc into next 2 stitches
- dc into next 2 stitches
- *2dc, 2hdc, 6sc, 2hdc, 2dc* – Repeat from *to* until end of row.
- Break yarn and sew in ends.
video tutorial
How to Crochet the Border
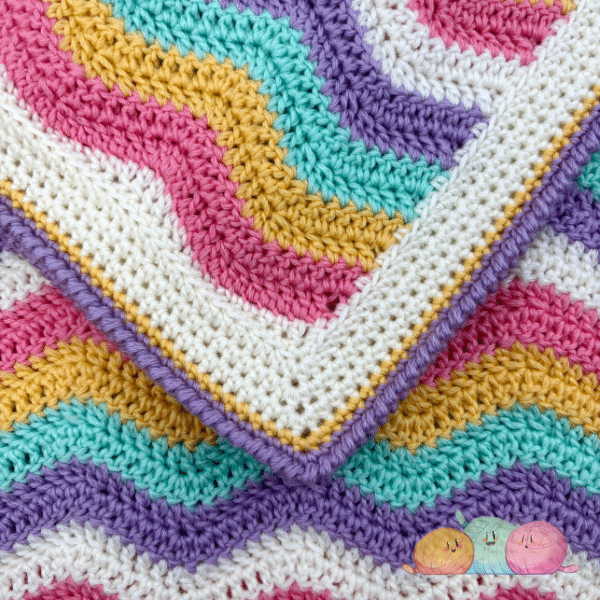
No blanket is complete without a border. I like to keep things simple to let the main body of the blanket shine. This simple, 5 round, pattern is my go to, not just for my ripple blankets, but for most of my crochet blankets.
Round 1:
- Join yarn to any stitch along top row, pull up a loop and ch1 (does not count as a stitch)
- Sc back into same stitch, sc along row until last stitch
- 3 sc into last stitch in row to form corner
- 2 sc into the side of each dc on the long edge.
- 3 sc into first chain from bottom row to form corner
- Sc into each stitch along bottom row
- 3 sc into last chain from bottom row to form corner
- 2 sc into the side of each dc on the long edge.
- 3 sc into first stitch in row to form corner
- Join last sc to 1st sc with ss.
round 2:
- Ch1 (does not count as stitch), hdc into back loop only of same stitch.
- Hdc into back loops of each stitch in previous round, making sure to work 3 hdc into middle stitch of corner from row below.
- Join last hdc to 1st hdc with ss.
round 3:
- As Round 2, but work into both loops of stitches in row below.
- Join last hdc to 1st hdc with ss
round 4:
- Ch1 (does not count as stitch), sc into every stitch in round, working 3 sc into corner group from previous round.
- Join last sc to 1st sc with ss.
round 5:
- Ch1
- Work reverse sc into each stitch from round below.
- DO NOT join to 1st stitch with ss, instead break yarn and sew end through middle of 1st stitch in round (video tutorial shows which direction to sew to achieve a seamless edge).
- Sew in ends.