How to Knit Tumbling Moss Block Stitch [Free Knitting pattern & video tutorial!]
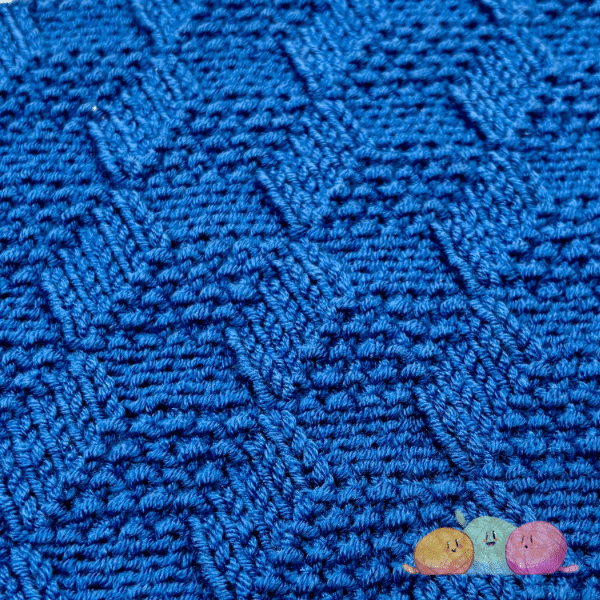
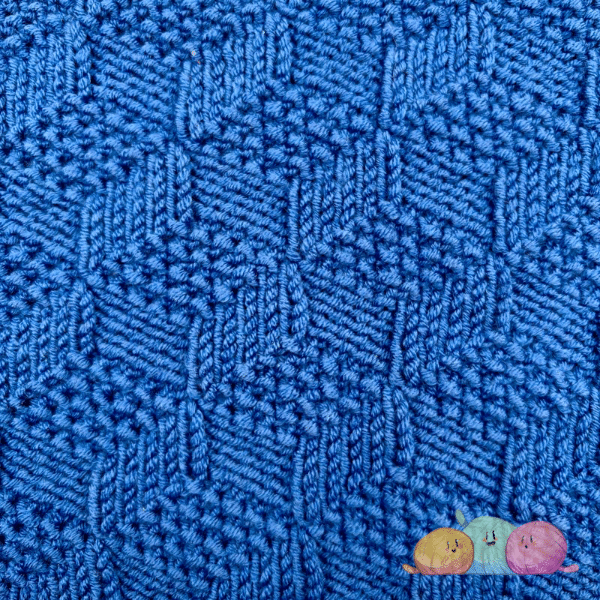
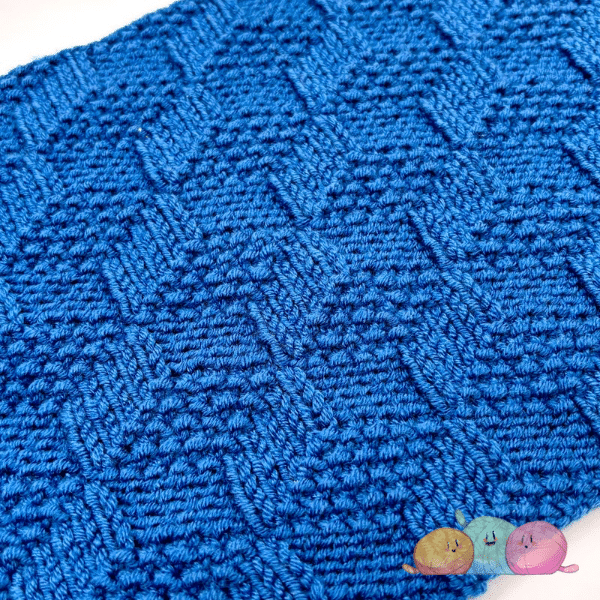
The Tumbling Blocks Moss Stitch is a beautifully textured knitting pattern that gives a 3D, almost quilted effect. This stitch pattern is actually known to be inspired by “tumbling block” quilt patterns dating back to the 1830s.
This knitting pattern recreates the texture from those blankets using a combination of Moss (aka Seed) Stitch, Stockinette Stitch and Reverse Stockinette Stitch. The resulting texture resembles the 3D blocks from the quilts that inspired the stitch pattern.
Tumbling Moss Block stitch is a 20 row repeat – definitely at the longer end of repeats when it comes to knitting stitch patterns.
Although it consists of just knits and purls, the longer repeat, and the 10 stitch pattern multiple means that I really wouldn’t advise tackling this stitch as a beginner unless you have mastered counting your stitches and rows, as you’ll need to be able to keep track of where you are in the pattern to avoid going wrong.
To make things even easier, I’ve included a free video tutorial at the bottom of this post to guide you through the pattern step by step. Perfect if you’re a visual learner or just like having a bit of extra guidance alongside the written instructions.
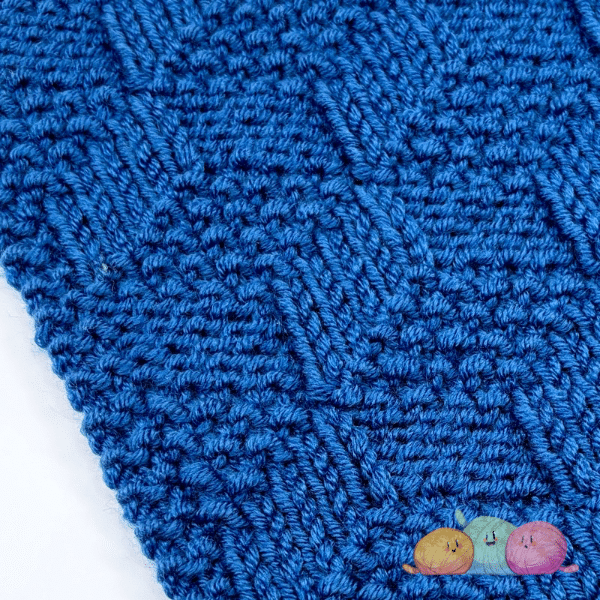
Is this stitch pattern reversible?
Whenever I produce a knitting tutorial, or a baby blanket pattern, I’m always being asked if its reversible or not. Hopefully having a little section to cover this question within my blog posts will help to answer that question nice and quickly.
Yes! The tumbling blocks moss stitch is a fully reversible knitting pattern, so there’s no “wrong” side, making it as perfect for those of you who I know love to have a project that looks the same on both sides.
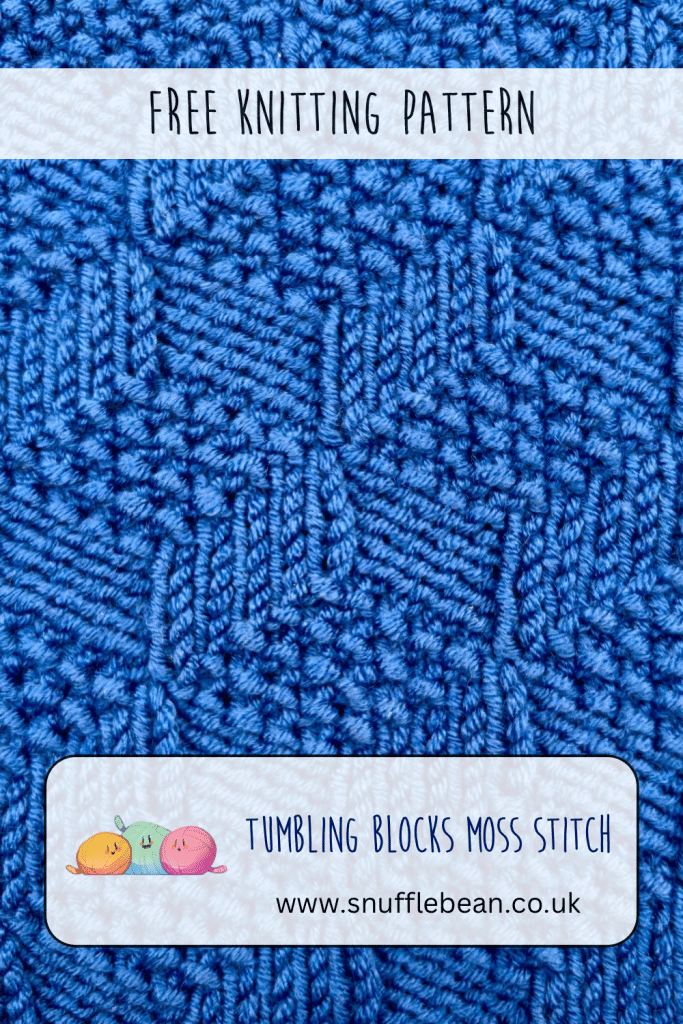
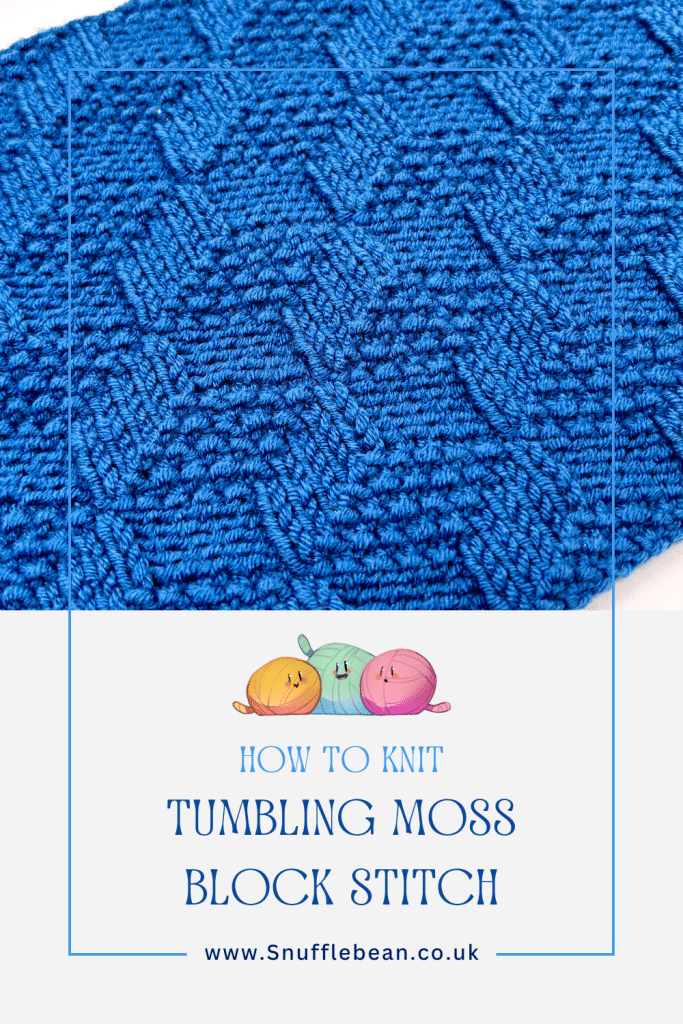
Pin for later
Want to easily bookmark this stitch for later? Why not pin this image so you can easily find it in the future!
Written pattern
Stitches Used
- K – knit
- P – Purl
- WS – Wrong Side
- RS – Right Side
Pattern Repeat
Foundation Row: Cast on a multiple of 10. (I like to use the Long Tail method)
Row 1 (RS): * P1, K1 * repeat from *to* until end of row.
Row 2 (WS): * P2, K1, P1, K1, P1, K1, P1, K2 * repeat from *to* until end of row.
Row 3: * P3, K1, P1, K1, P1, K3 * repeat from *to* until end of row.
Row 4: * P4, K1, P1, K4 * repeat from *to* until end of row.
Row 5: * P5, K5 * repeat from *to* until end of row.
Row 6: * P5, K5 * repeat from *to* until end of row.
Row 7: * K1, P4, K4, P1 * repeat from *to* until end of row.
Row 8: * P1, K1, P3, K3, P1, K1 * repeat from *to* until end of row.
Row 9: * K1, P1, K1, P2, K2, P1, K1, P1 * repeat from *to* until end of row.
Row 10: * P1, K1 * repeat from *to* until end of row.
Row 11: * K1, P1 * repeat from *to* until end of row.
Row 12: * P1, K1, P1, K2, P2, K1, P1, K1 * repeat from *to* until end of row.
Row 13: * K1, P1, K3, P3, K1, P1 * repeat from *to* until end of row.
Row 14: * P1, K4, P4, K1 * repeat from *to* until end of row.
Row 15: * K5, P5 * repeat from *to* until end of row.
Row 16: * K5, P5 * repeat from *to* until end of row.
Row 17: * K4, P1, K1, P4 * repeat from *to* until end of row.
Row 18: * K3, P1, K1, P1, K1, P3 * repeat from *to* until end of row.
Row 19: * K2, P1, K1, P1, K1, P1, K1, P2 * repeat from *to* until end of row.
Row 20: * K1, P1 * repeat from *to* until end of row.
Tip for Casting Off: Cast off in pattern during a Row 20, this will give you a nice symmetrical finished item.
tips for adding selvedge stitches
If you want to add selvedge stitches to help your work lay flat, and look a little bit neater at the edges then I suggest adding 2 stitches at either end. Don’t forget this will affect how many stitches you need to cast on.
The only change you’d need to make to the pattern above if you’re adding selvedge stitches, is to make sure you knit the first two and last two stitches.
Video Tutorial
Want to browse all of my free knitting patterns and more? See them HERE!
![How to Knit Beaded Rib Stitch [Free Written Pattern & Video Tutorial!]](https://www.snufflebean.co.uk/wp-content/uploads/2024/07/Beaded-Rib-Front-WordPress.jpg)
![How to Knit Reverse Ridge Stitch [Free Video Tutorial & Written Pattern!]](https://www.snufflebean.co.uk/wp-content/uploads/2024/09/Reverse-Ridge-WordPress.jpg)
![How to Knit the “Gracie” Baby Blanket [Free Video Tutorial & Written Pattern!]](https://www.snufflebean.co.uk/wp-content/uploads/2024/09/long-tail-wordpress-1-1.png)
![How to Knit a Mitred Square [Free Knitting Pattern & Video Tutorial]](https://www.snufflebean.co.uk/wp-content/uploads/2022/02/mitre-3.png)
![QUICK & EASY Little Knitted Hats for Christmas! 🎄 [Free Video Tutorial & Written Pattern!]](https://www.snufflebean.co.uk/wp-content/uploads/2023/12/Tiny-Hats-Social.png)